How to hide any Local Drive using Command Prompt. Here is the trick.
How to Hide a Local Drive using command prompt:
1. Click on Start – Run (Ctrl+R)
2. In Run box type CMD and hit Enter. Now Command Prompt window will appear.
3. In command prompt, type Diskpart and hit Enter.
4. Then type List volume and hit Enter.
Now it will display the list of all your computer drives details.
5. Then type the Drive Letter which you want to hide.
If you want to hide volume D, type Select Volume D and hit Enter.
Now below mentioned message will appear to you.
Volume 2 is the selected volume
Note:The respective number of the inputted volume will come.
6. After that, type Remove Letter D and hit an Enter.
That’s all, you have done. Now you won’t be able to see the particular drive in My Computer.
See here……
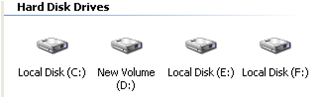
Before

After
How to get back Hidden Drive again in My Computer:
1. Click on Start – Run
2. In Run box type CMD and hit Enter. Now Command Prompt window will appear.
3. In command prompt, type Diskpart and hit Enter.
4. Then type List Volume and hit Enter.
5. Type Select Volume D if he did’t work then type Select Volume 2
6. After that type Assign Letter D and hit Enter.
7.That’s all Done!! You have got back the hidden local drive. Now you will be able to see hidden local drive in My Computer.